9 Steps Once Your Real Estate Offer is Accepted and Under Contract
If you are in the process of buying a home, congratulations! You have made it one step closer to achieving your dream of owning a property. But now that your real estate offer is accepted and under contract, what should you do next? Here are nine steps to make sure your transition into homeownership goes smoothly so that all parties involved can be successful with their goals. Read on as we discuss how to navigate through the home-buying process once the exciting news comes that your offer has been accepted!
1. Make Your Earnest Money Deposit

An earnest money deposit (EMD) is a deposit that buyers put down to show the seller that they are serious about buying the property. It also serves as insurance for both parties in case either party fails to meet their obligations under the contract.
The amount of the deposit depends on your situation but typically ranges between 1-3% of the purchase price. It is important to note that if you back out of the purchase agreement for any reason, you may lose your EMD. This could happen if you are unable to get financing or if a home inspection reveals more damage than expected.
In addition, many states require buyers to pay an additional fee known as a good faith deposit (GFP) or good faith money (GFM). GFPs and GFM are separate from EMDs and generally range from $500-$1,000, depending on where you live.
These deposits act as insurance for both parties in case anything goes wrong during the closing process or one side fails to complete their obligations under the contract. In most cases, these deposits are returned when all conditions have been met and closing has taken place successfully.
Ideally, you should make your EMD once your offer has been accepted by the seller and before signing any official paperwork or contracts. Once signed, your earnest money will be held in escrow until the closing takes place or until other specific conditions set forth in your contract have been met (like passing inspection). If everything goes according to plan, then your EMD will be applied towards your down payment at closing; however, if something goes wrong, then it may not be applied towards your down payment—or worse—you may lose it altogether.
2. Property Inspection

A property inspection will give you an accurate picture of the condition of the home and its components so that you can make an informed decision about your purchase.
What Does A Property Inspection Entail?
A property inspection is typically done by an experienced inspector who inspects every part of the house, including its interior and exterior, systems, and appliances. This includes evaluating electrical wiring, plumbing, insulation, roofing materials, ventilation systems, windows and doors, HVAC systems, basement/crawlspace foundations, and more. The inspector will also check pest infestations as well as water damage or signs of mold.
The inspector will then compile all his findings into a report that outlines any issues with the house. This report is invaluable as it will give you clear insight into what repairs need to be done before closing on the house or which ones can wait until after you move in (if any). It can also help you negotiate with the seller if there are any major issues that need to be addressed before closing on the house.
Importance Of Property Inspections
Having a property inspection is essential for potential homeowners because it gives them an accurate picture of what they are buying. Without it, they may not discover critical issues until after they move in—which could be costly. Furthermore, having an inspection done helps protect buyers from purchasing homes with serious structural defects or code violations that could ultimately cost them much more than just their initial investment. Knowing exactly what kind of condition your new home is in is crucial for making sure your purchase is worth every penny!
3. Lender Documents
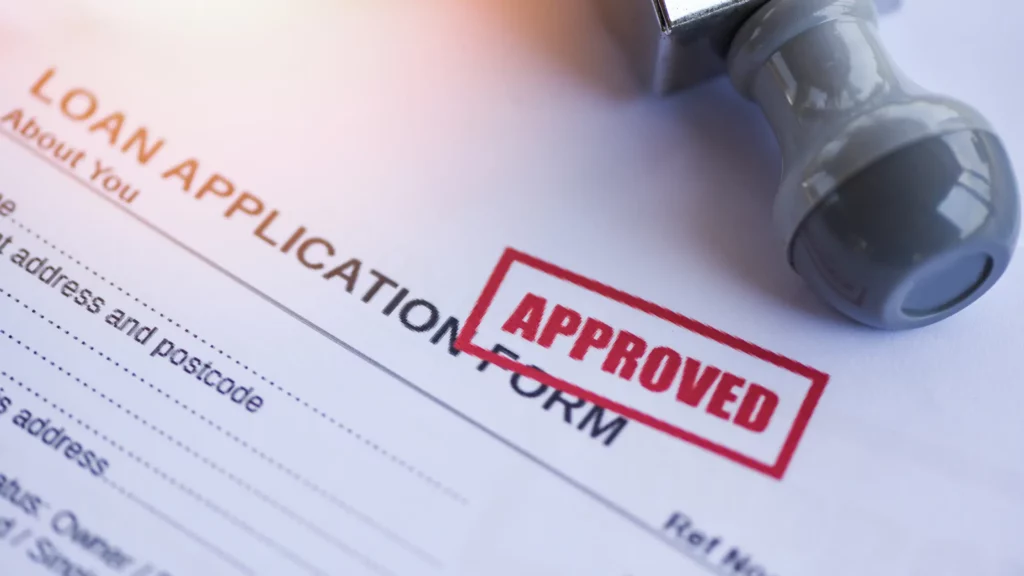
One of the most important steps when buying a home is getting your lender documents in order. Mortgage lenders require certain documents to make sure they will get their money back if you default on the loan. Knowing which documents you need, when to provide them, and what they mean can help make the home-buying process easier.
Loan Estimate Form
The Loan Estimate Form is provided by your mortgage lender within three days of applying for a mortgage loan. This document provides an estimate of your loan terms, including monthly payments, closing costs, and other fees. It also includes information about any prepayment penalties and insurance requirements in case of default on the loan. Be sure to carefully review this document with your mortgage lender so that you understand all of the terms associated with your mortgage loan.
Mortgage Application & Supporting Documentation
When applying for a mortgage loan, you will need to fill out a Mortgage Application form with details about your income, debts, assets, and employment history. You will also need to provide documentation that supports these claims, such as bank statements, proof of income (pay stubs or tax returns), and credit reports from all three major bureaus (Experian, TransUnion, and Equifax).
These documents help lenders determine whether or not you are eligible for financing. Additionally, some lenders may require additional documentation, such as divorce decrees or child support payments if applicable.
Closing Disclosure Form
Prior to closing on the loan agreement, you will receive a Closing Disclosure form from your lender outlining all of the final costs associated with the purchase of the property (e.g., taxes, and insurance premiums). This form must be signed by both parties before closing on the home can take place. It is important to compare this form against the Loan Estimate Form provided earlier in order to ensure that all costs have been accurately accounted for before signing it.
4. Title Commitment
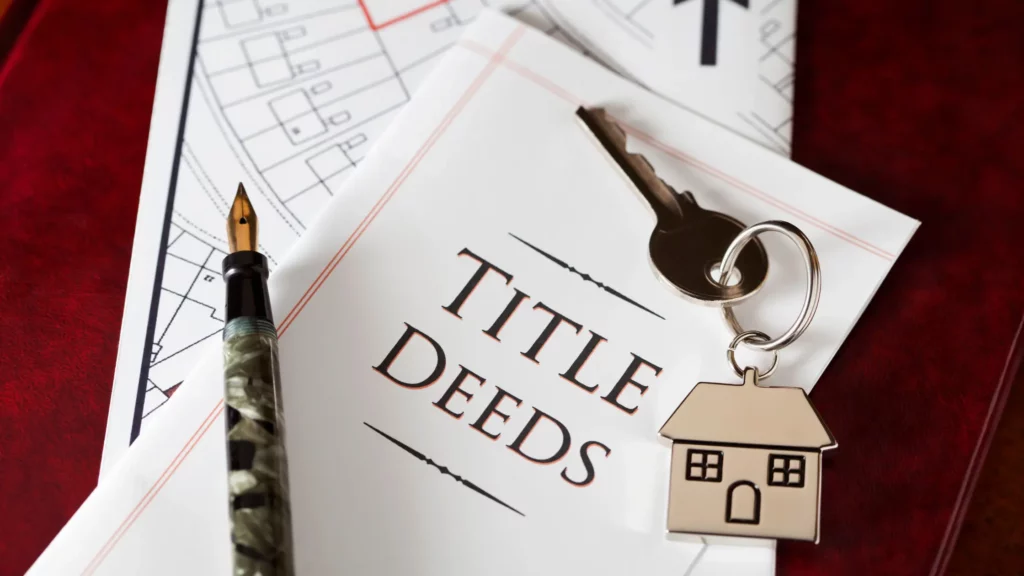
A title commitment is an official document that outlines any existing claims against the property you are looking to buy. It also serves as an agreement between yourself, the buyer, and your chosen title company or attorney that they will provide you with good title to your property once closing has been completed. The title commitment is usually provided by your lender or real estate agent after you have signed a contract to purchase the home.
It’s important to have this document because if there are any existing claims against the property, such as liens or unpaid taxes, then these must be paid off before closing so that you can receive a good title from the seller.
If not identified early on in the buying process, these issues could cause significant delays and extra costs for you down the line. The title commitment will also outline any restrictions or easements associated with the property, so it’s worth reading through carefully when you receive it.
A clean title commitment means that all existing claims against your property have been paid off prior to closing and so you can expect smooth sailing when you go ahead with purchasing your home. However, if there are any exceptions listed on your title commitment, then these need to be dealt with beforehand so that they do not delay closing on your new home or result in additional costs for yourself down the line. This is why it’s essential to read through your title commitment carefully when it arrives and make sure everything looks correct before proceeding further in your home-buying journey.
5. Get an Appraisal

An appraisal is completed by a certified appraiser who visits the property and examines both the interior and exterior of the home. The appraiser will assess various factors such as location, size, condition of the property, upgrades, etc.
All of these components are taken into consideration when determining the estimated value of the home. It is important to note that this estimated value may not be exactly what you end up paying for the property; however, having this information upfront can help provide context when negotiating with sellers.
Mortgage lenders typically require an appraisal in order to approve your loan. This ensures that they are lending only against properties worth at least what you have agreed to pay for them. If an appraisal comes back lower than expected, lenders usually have restrictions on how much they will lend relative to the appraised value or may deny your loan altogether if it drops too low.
6. Buy Homeowners Insurance

Homeowners insurance covers both physical damages to the property caused by an unexpected event and liability coverage in case someone gets injured on your property. This means that if you are found liable for an injury caused on your property, the cost of medical bills or legal fees can be covered by the policy. It’s important to note that standard policies don’t cover any flood- or earthquake-related losses, so you will need to purchase supplemental coverage if you live in an area prone to these natural disasters.
The cost of homeowners insurance varies based on several factors, such as the location and age of your home, its size and construction type, as well as what kind of coverage you are looking for. Insurers typically offer discounts when you bundle policies together, such as auto and homeowners insurance, which could lower overall costs.
7. Turn on Utilities
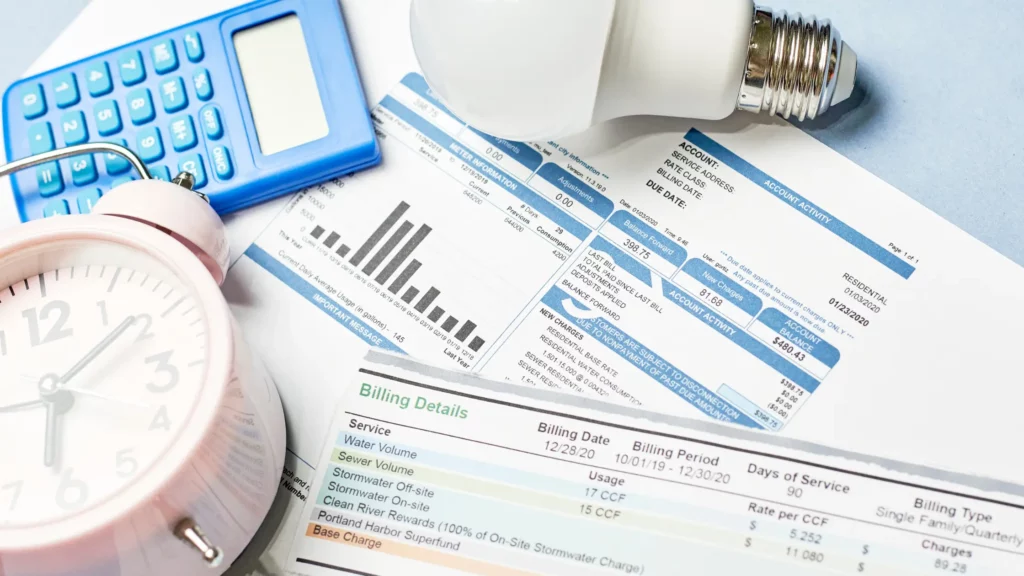
The first step in setting up utilities is researching providers in your area. Most areas have several different electricity, gas, and water providers that offer competing rates and services. Some may even offer special deals for new homeowners, so it’s worth doing some research before making any decisions. You’ll also want to check with your local government to see what other utility companies you can choose from, such as phone, internet, waste management, and more.
Once you’ve chosen a provider, it’s time to start the transfer process. Many providers will need proof of ownership, such as a deed or closing statement before they will set up a service in your name. Be sure to get all the necessary paperwork together before contacting the provider so they can get started on the transfer right away. You should also confirm whether there are any additional fees associated with transferring service into your name as well as any deposits required by the provider prior to turning on service at your home.
If you’re buying an existing home, remember that utilities are often still in the seller’s name until the closing day arrives. Be sure to communicate with them to ensure that utility services remain active until the closing day so you don’t have any surprises when you move in. If possible, arrange for all bills and deposits related to utilities to be paid out of escrow at closing so that there are no delays when transferring service into your name.
8. Final Walkthrough

A final walkthrough is typically done just before closing on a home and ensures that all of the terms and conditions of the purchase agreement have been met by both parties. During this time, you will be able to inspect the property one last time, check if any agreed-upon repairs have been made, review important documents such as warranties and inspection reports, and ask questions about anything that concerns you about the property.
When doing your final walkthrough, be sure to turn on lights, flush toilets, run water, check appliances, and test smoke alarms and carbon monoxide detectors – basically, anything that can be tested or checked in order to make sure everything works properly.
You should also look for any visible signs of damage or wear and tear that may not have been present during previous inspections or walkthroughs. Make sure you take pictures or videos of anything suspicious so you can document it for future reference if needed.
Don’t forget to check for any personal items left behind by the seller – these should be listed on your contract, so make sure they are either removed from the property prior to closing or included in your purchase agreement at no additional cost.
If something isn’t quite right during your final walkthrough – such as unfinished repairs or missing items – don’t panic! Your agent will work with both parties involved (both the buyer and seller) to come up with an agreeable solution, so everyone is happy with the outcome. Your agent may also suggest alternatives such as credits at closing or other forms of compensation if necessary. In some cases, they may even suggest renegotiating terms of sale if necessary in order to satisfy both parties involved. Just remember: no matter how minor (or major!) an issue may seem during your final walkthrough, your real estate agent can help make it right!
9. Closing Date
The closing date is when all parties involved in the process, including the buyer, seller, real estate agents, and lenders, sign all of the documents needed to complete the transaction. It’s important to understand what to expect on your closing day so that you can be prepared and ready.
The first thing you need to do before your closing day is to make sure that you have all of the necessary documents. This includes your Social Security or Tax Identification Number, photo ID (such as a driver’s license), proof of homeowner’s insurance information, and any other pertinent documents requested by your lender. Additionally, it’s important to have cashier’s checks or certified funds available for payment of any fees due at closing.
On average, there are usually four people in attendance at a home-buying closing: the buyer(s), the seller(s), each party’s respective real estate agent(s), and a representative from the title company who will facilitate the signing process. However, depending on your circumstances, additional persons may need to be present such as an attorney or notary public if required by state law.
Once everyone has gathered together, they will go over all of the paperwork with you line-by-line, including any amendments made during negotiations as well as review all disclosures regarding mortgage terms and conditions, among other things.
Once everything has been gone through thoroughly and all questions answered, it’s time for signing! All of those present will then sign off on their respective parts of paperwork related to title transfer (or deed) in order for ownership rights of the property to transfer from seller to buyer. Then once everyone has signed off, it’s officially done! Congratulations! You are now officially a homeowner!
Once your real estate offer is accepted and under contract, there are a few steps that come next to make sure the process stays on track. These nine steps include making an earnest money deposit, property inspection, lender documents, title commitment, and getting an appraisal. You will also need to buy homeowners insurance and turn on utilities in preparation for the final walkthrough before closing day.
If you are buying a home in the Nashville area, our experienced real estate team can help guide you through each step of this process. Contact us today to get started.
